LabRadar Chronograph Review
Disclaimer: This page contains affiliate links, meaning we receive commissions for any purchases made through the links on this page.
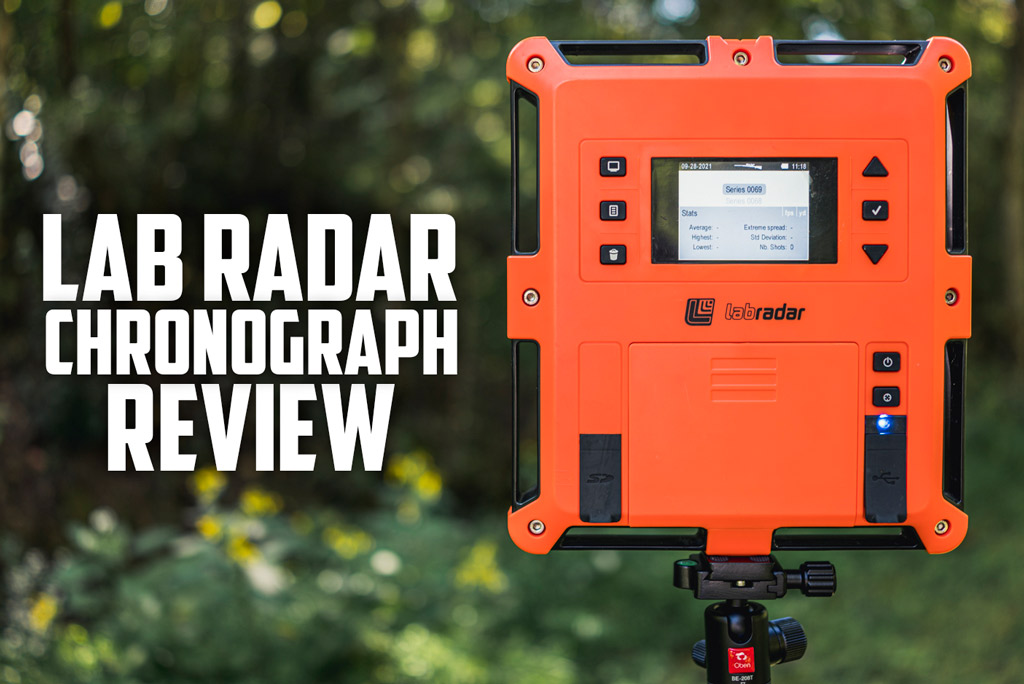
The LabRadar Chronograph is a little different than most standard chronographs on the market. Chronographs are handy tools that measure the velocity of a projectile or bullet as it is fired from a gun. What makes the LabRadar Chronograph special? It’s not cheap, but if you are looking for a good chronograph with many features, we would recommend this one as you’ll find out after reading our LabRadar Chronograph review.
Why Use A LabRadar Chronograph?

You may need a chronograph for several reasons. Understanding your bullet velocity out of a hunting rifle will allow you to memorize your holds for longer shots. This will help to ensure a clean hit on an animal from a distance. If you compete in shooting competitions or reload your ammunition, a chronograph will compute the power factor of a bullet out of your gun. Projectiles can move slower or faster depending on the weather or elevation. So using a chronograph in different temperatures or altitudes will give you the data you need to know for a change in shooting conditions.
What about reloading? If you reload ammunition, a chronograph is a necessity to find out what load is consistent through your firearms. When shooting reloaded rounds through any gun, you’re looking for the velocity to be the same. Or at least very consistent for every shot fired. If your data is showing velocities that deviate 50 or 100 feet per second from the average or from each other, that load may be inconsistent. This is where load development can be frustrating.
How to Use the LabRadar Chronograph

We took it to the range to test it with both a pistol and a rifle to see how it works. We hoped to gain an understanding of the output data for ourselves. The setup process is the longest part of actually using the chronograph so if you’re more of a visual person, LabRadar made a quick start video on YouTube and provide a helpful User Manual. (Check out Page 8 and maybe use that photo in there?)
How to set up the Chronograph:
- Install batteries in the battery compartment
- Push the Display button in the top left
- Set up the velocity into feet per second (fps)
- Continue to set up the distance units as yards (yd)
- Set the weight units to grain (gr) for your projectiles
- Continue to set up the velocity range to either rifle, handgun, or archery depending on what you are using
- Set up the project offset to where you will be holding your muzzle in relation to the side of the chronograph and depending on what you will be shooting
- When setting up distances, always set the first distance (Dx1) according to the distance you want the power factor to be calculated
- Enter the projectile weight for the ammunition you are using
- The trigger source can either be set as the trigger or the doppler and the trigger level can be lowered to a 1 (more sensitive) if you have a muzzle brake or suppressor on
Now that the settings are configured, you’ll need to align your radar to your target. One of the downsides to this chronograph is you do need to purchase a tripod separately to mount it on. At the top of the LabRadar chronograph is a notch where you line up the target you’re shooting at. Make sure that the chronograph stays level and supported at all times so as to not affect the data.
How to start a series:
- Push the series button (the second one down on the left) and start a new series
- Press the arm button (above the USB port, looks like a reticle) twice until the light changes from blue to orange
- Now begin your shot series by lining up your muzzle to the side of the chronograph where the trigger sensors are and pulling the trigger
- After each shot, the screen should display the shot number (the first being 1, second being 2, and increasing from there) and the measurements for that projectile
- Shoot at least 5 rounds to collect group data on
How to review the data:
- Once the chronograph is unarmed manually or automatically (light turns blue), press the Display button (top left) to review the individual shots and see the power factor data
- To review the series information, hold down the arm button (bottom right above the USB port) for two seconds until the screen shows Series 0001
- Use the up and down arrows to navigate through the results
- Press enter from the series screen to access the individual shots in the series
Collecting Ballistic Data
For competitive shooters who shoot USPSA matches, there is a minor power factor category and a major power factor category. There is also a minimum power factor that all shooters have to at least meet. Otherwise, they shoot for no score meaning they are essentially out of the competition. The LabRadar Chronograph will provide the hit factor for you after your shot strings with your pistol.
The important data this chronograph will provide for a shot series are the maximum velocity, minimum velocity, average velocity, standard deviation, and extreme spread. Whether you’re hunting, competing, or just recreationally shooting, everyone wants to have an accurate load. You may be thinking that you don’t really need this data from factory ammunition, but that’s where you’re wrong. Just like with reloaded ammo, factory ammo can be inaccurate as well.
There are a couple of ways to determine if you have a recipe for success using this group of data provided. When looking through your shot series, compare each individual shot’s velocity to the average velocity. If you are within +/-10 feet per second of the average velocity, you may have a successful recipe. Looking at the standard deviation or both the minimum and maximum velocities can help determine how wide of a gap your ammunition velocities are as well. Too much of a spread can be an indication that the ammunition is not consistent.
Always collect data in different temperatures and elevations if possible. It’s a good idea to bring your chronograph with you if you’re traveling to a different state for a competition or a hunting trip to test your load data.
What Causes Chronograph Inconsistency?
Not all bullets are made the same. Bullets can be coated or uncoated which depending on your firearm could be the source of the issue. The powder charge can throw a bullet’s velocity off even if it’s just slightly different than the powder charge in another round of ammunition. Bullet grain weight is also an important factor when using a chronograph. Heavier bullets are slower and some grain weights are not meant to be shot through certain barrels. All of this factors into the data you collect on a chronograph.
This may seem obvious, but for every gun you will be shooting the ammunition through, you need to chronograph it. Different barrels have different ballistic data. You may have seen the velocity marked on factory ammunition boxes, but the velocity is dependent upon the gun you’re shooting the ammo out of. For example, Frontier Cartridges 5.56 NATO ammunition is marked with 3,240 feet per second. Most companies test fire their ammunition through 24″ barrels to get this data. The more common hunting, competition, and recreational rifles will not have this long of a barrel. The longer the barrel, the higher the velocity so most likely, the velocity of your rifle will not be 3240 feet per second. (Can we share what the velocity would be from a 16 or 18″ barrel to finish this thought?)
Compared To MagentoSpeed
MagentoSpeed is known for their target hit indicators that flash upon impact, but they also make a chronograph. What is different about this chronograph is it is mounted directly on the barrel. One thing I am very leary of is anything touching my barrel while shooting. This contact can affect the trajectory of the shot. This is also why you never rest your barrel on a barricade when shooting and always rest your gun on the handguard. For that reason alone, I will stick to a non-barrel mounted chronograph.
LabRadar: Chronograph Of The Future?

Overall, the LabRadar Chronograph is easy to use. It works under any lighting conditions which can be valuable if you need data quickly. While the data is accurate and the device is easy to use, there are some quirks about it that take a minute to learn.
The navigation of the buttons can seem unintuitive at times. Between the display button, the arm button, and the arrow keys, you should have everything you need to review the data live on the screen. The trick is remembering what to push when and what to hold down to review data.
I had a slightly difficult time getting my rifle shots to pick up because of my muzzle brake. It took a few shots to understand how far away to hold the rifle from the sensor as well as how far in front of the chronograph I needed to shoot it. Once I was able to find the sweet spot, it worked just fine.
Similarly, the sensitivity definitely needs to be adjusted for suppressed guns, muzzle brakes, .22 LR guns, and anything else that can be more challenging to pick up. One of the big perks of this chronograph is that it is accurate with subsonic, transonic, and supersonic projectiles.
Don’t forget to upgrade the chronograph firmware for continuous product evolution. Also, be sure to purchase a tripod before heading to the range with it!
My overall rating of the LabRadar Chronograph is: 4/5 

- Unconditional Warranty- You Break It, We Fix It same day
Kenzie Fitzpatrick is a competitive shooter, firearms instructor, published writer in the industry, and the host of the Reticle Up podcast.
